从原理讲解如何实现文章中图片的放大缩小

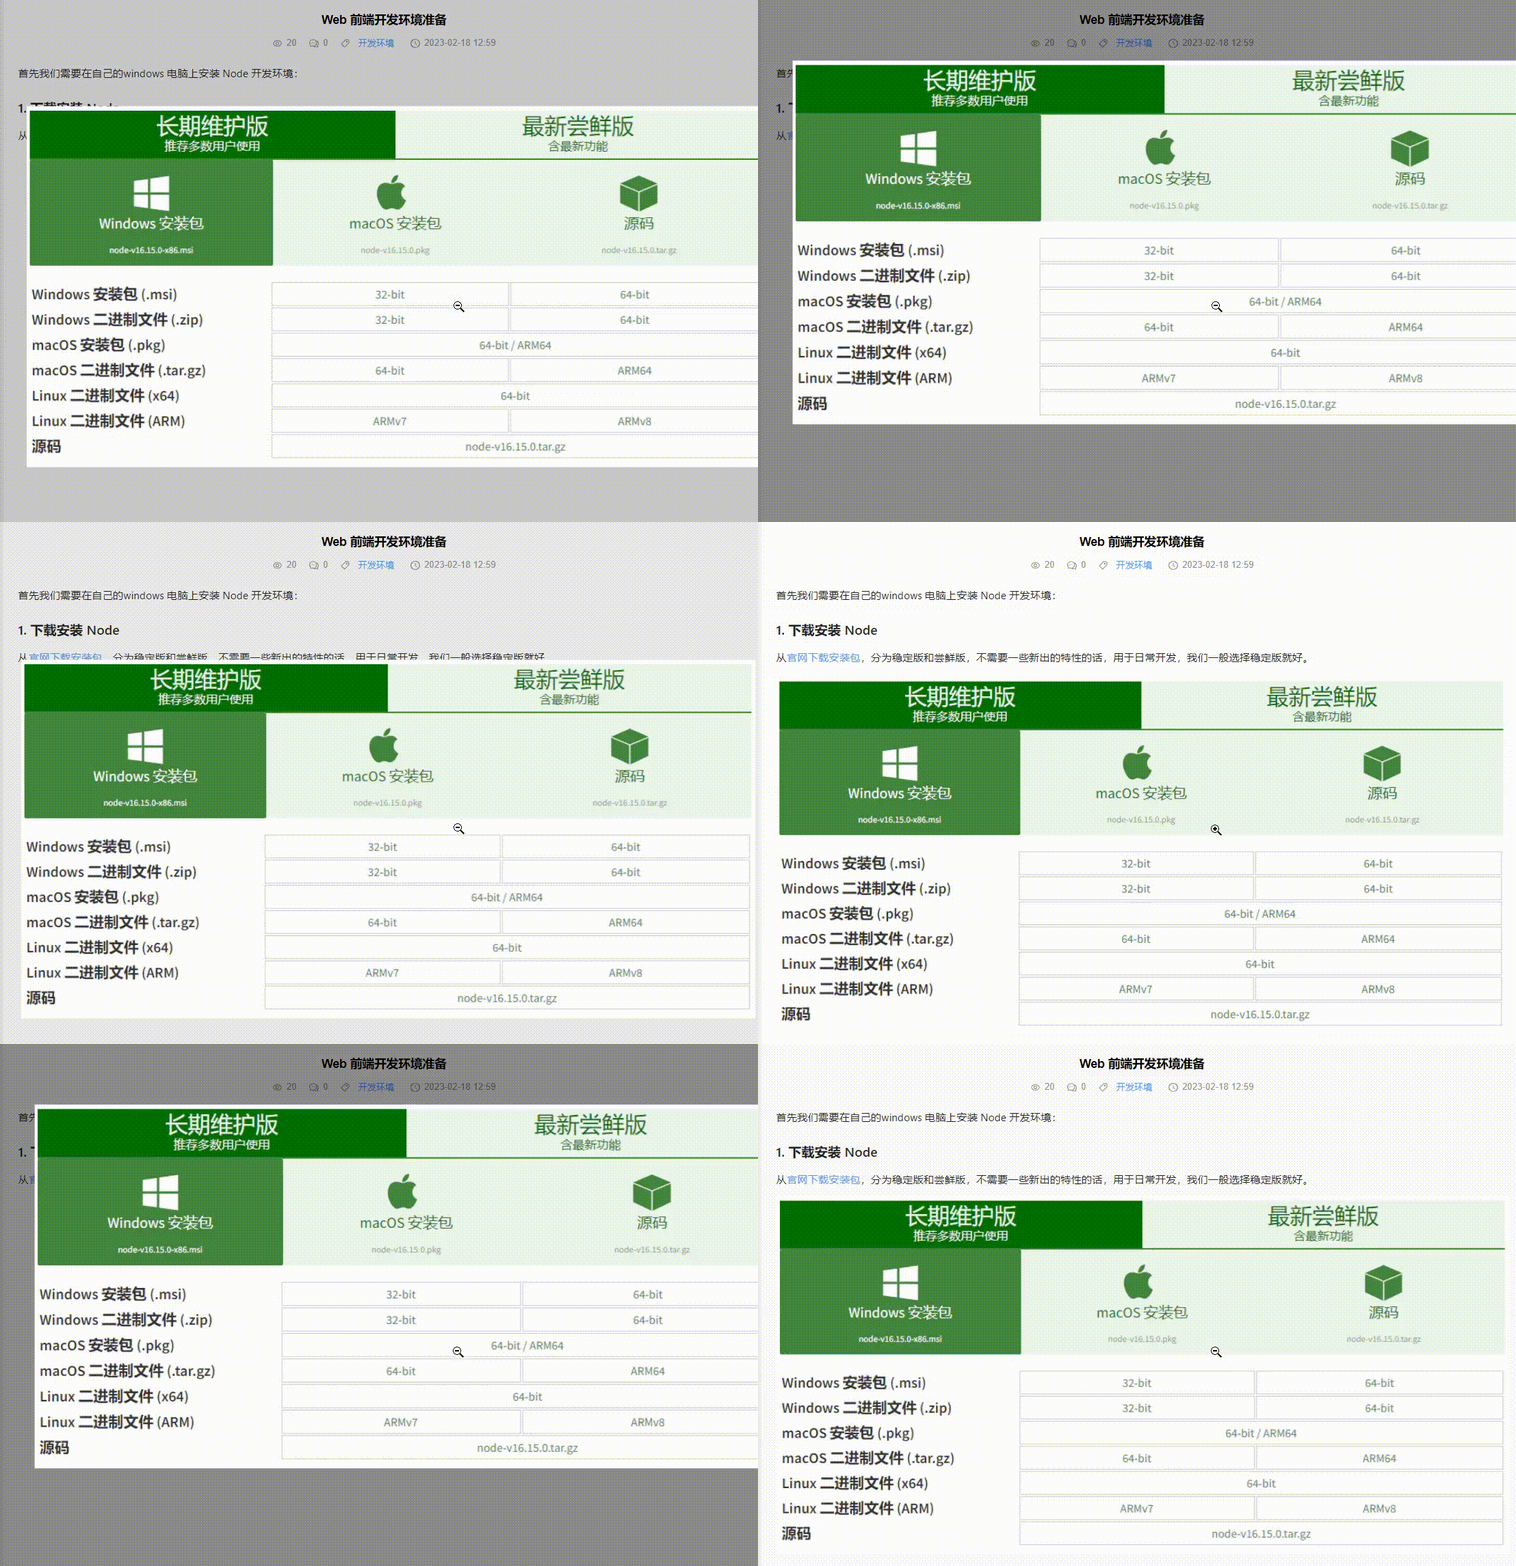
在开发中经常遇到需要将文章详情中的图片做放大预览处理,如上动图所示。这里以 Vue 框架为例,讲解下简单的实现过程。
首先我们从接口获取到文章的详情数据,将文章的主题内容(一段富文本)以v-html指令渲染出来
<template>
  <div
    class="rich-content"
    v-html="article.Contents"
    @click="previewImg($event)"
  />
</template>
对层 div 增加 click 点击事件,然后捕获到点击目标元素是否是 IMG,然后将图片的路径存储在变量中,用于放大显示。
<script setup>
const imgPreview = reactive({
  img: "",
  show: false
});

const previewImg = e => {
  if (e.target.tagName === "IMG") {
    imgPreview.img = e.target.src;
    imgPreview.show = true;
  }
};
</script>
为了快速实现演示效果,这里使用 Element UI 框架,利用 el-dialog 组件作为放大图片的呈现载体。将图片设置撑满整个弹窗的内容区。对图片的父级 div 添加点击事件,目的是点击放大的图片后再次隐藏。
<el-dialog
  v-model="imgPreview.show"
  :show-close="false"
  :close-on-click-modal="true"
  width="90%"
>
  <div class="imgWrap" @click.stop="imgPreview.show = false">
    <el-image
      style="width: 100%; height: 100%"
      :src="imgPreview.img"
      fit="scale-down"
    />
  </div>
</el-dialog>
由于 el-dialog 组件中 el-header 和 el-body 区域样式不满足需要,进行一些样式覆盖
<style lang="scss">
.rich-content {
  :deep(img) {
    display: block;
    margin: 10px auto;
    cursor: zoom-in;
  }
}

:deep(.el-dialog) {
  background: transparent;
  box-shadow: none;
  margin: 0;
  width: 100%;
  height: 100%;
}

:deep(.el-dialog__header) {
  padding: 0;
}

:deep(.el-dialog__body) {
  padding: 0;
  margin: 0;
  height: 100%;
  width: 100%;
}

.imgWrap {
  width: 100%;
  height: 100%;
  display: flex;
  justify-content: center;
  align-items: center;

  :deep(img) {
    cursor: zoom-out;
  }
}
</style>
注意:为了视觉效果,当鼠标移动到图片上的时候显示放大效果,对文章中的 IMG 标签设置 cursor: zoom-in 放大镜效果,对放大后的图片标签设置相反的 cursor: zoom-out 缩小效果。


评论
还没有评论...留下你的评论!